Archives: house

festiveness for the rest of us

Usually I am not one to really go all out and decorate for Christmas.  Actually for the past 7+ years Steve and I have really done nothing in the form of holiday decorating.

Since I was hosting my staff Christmas party at our house this year, I thought that it probably wouldn’t be acceptable to be a total grinch.  This would have to be the year that we do it up (just a little) for Christmas and the holidays.

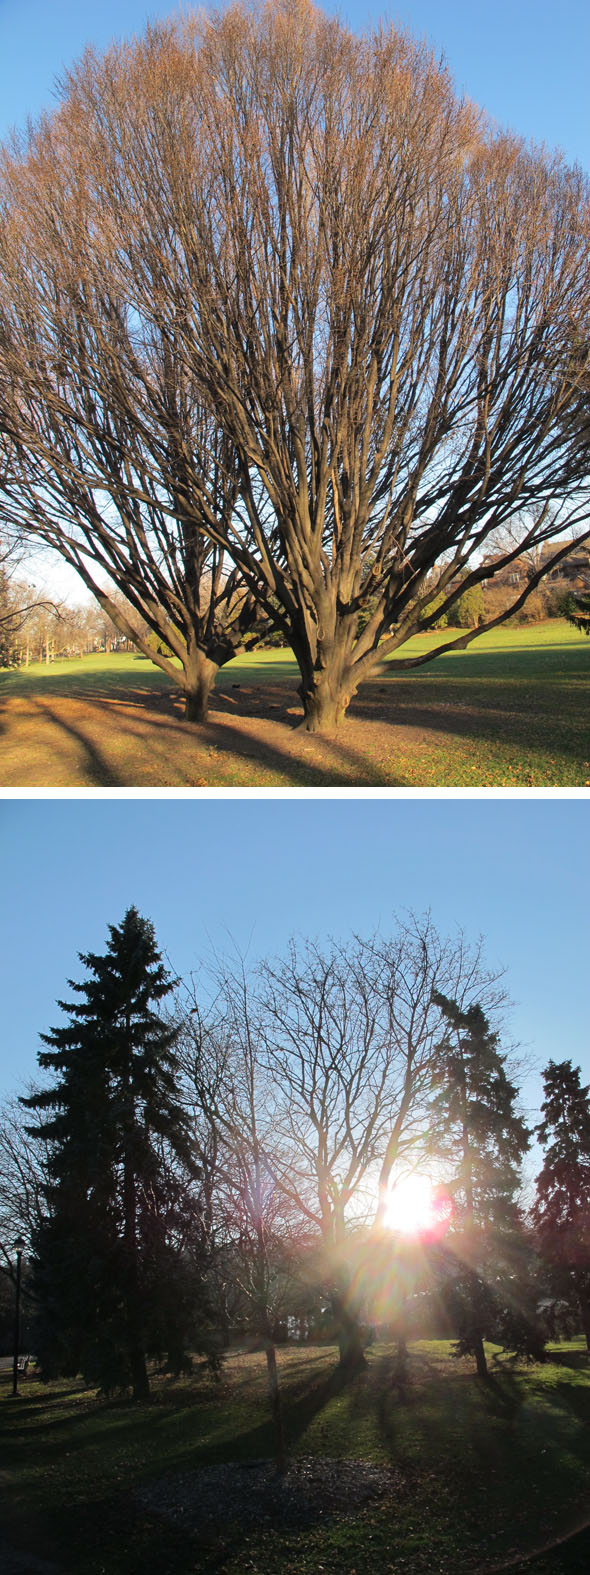
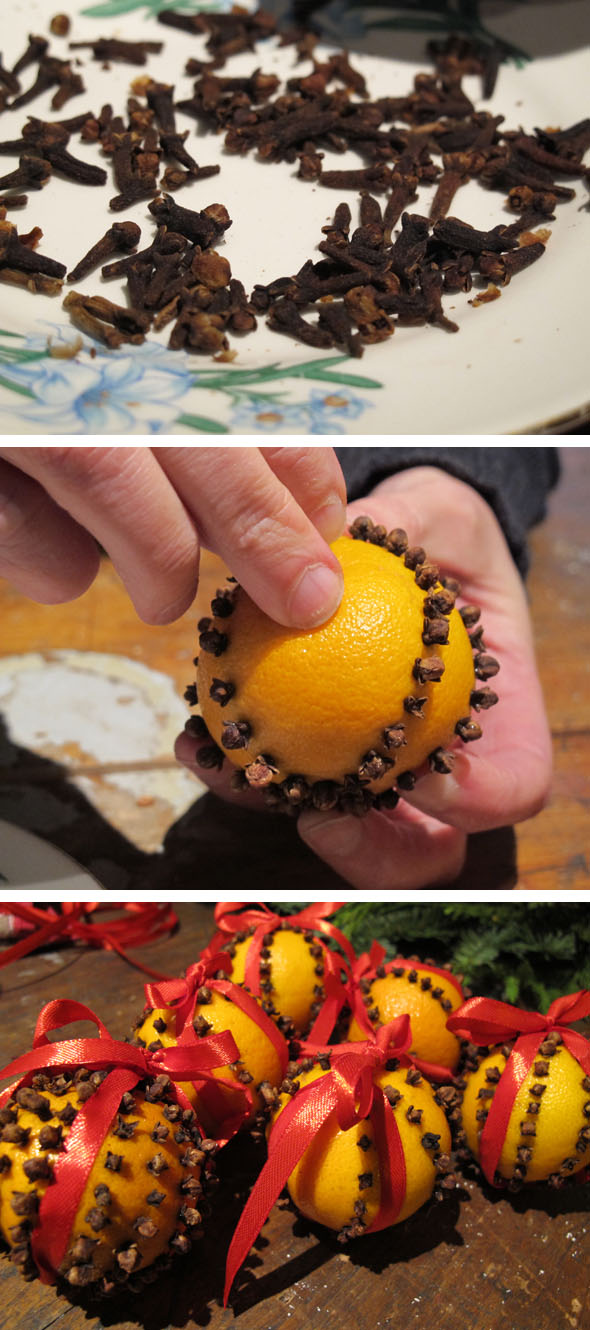
My mission with this started off with buying some cedar and pine boughs from the corner of Main St. and Ottawa.  They had a fresh and wonderful collection of cedar boughs.  The next stop was to Gage park to collect some pine cones for table centre pieces, which were actually strangely hard to find. I also picked up some tangerines, cloves and red ribbon from the store to make some deliciously scented orange and clove ornaments.

Gaige Park, Hamilton

With the sun setting on Gage park, and the temperature dipping we got home and warmed ourselves with some hot chile cocoa and marshmallows before getting down to business.  I was a bit of a neighbourhood sleuth/thief as I clipped a couple mini branches of red berries from the house down the street.

Christmas door decoration, wreath, cedar boughs, pine

My friend Lis, who was visiting for the day, helped to make our tangerine clove decorations.

clove and orange Christmas decorations, ornaments

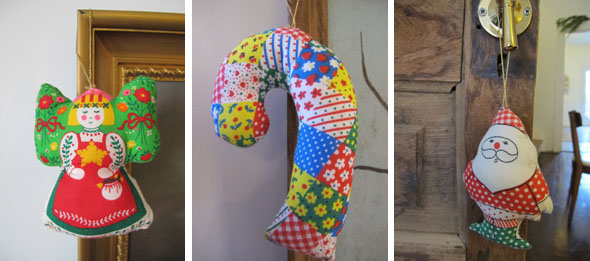
A few final decorative Christmas pieces came from my parents house.  I visited them a few days back and dragged out from under their stairs, an old box of Christmas decorations.  My favourites were these quilted ornaments.  Although, we did decorate this year, we haven’t ventured into the world of Christmas trees yet, so I hung the quilted ornaments on picture frames, and door knobs.

quilted Christmas ornaments

I even strung some popcorn cranberry garlands, and made little cedar and pinecone centre pieces for the tables. I admit having a little Christmas spirit did me no harm.  Maybe we’ll even move on to a little Charlie Brown Christmas tree for next year.


easy peasy

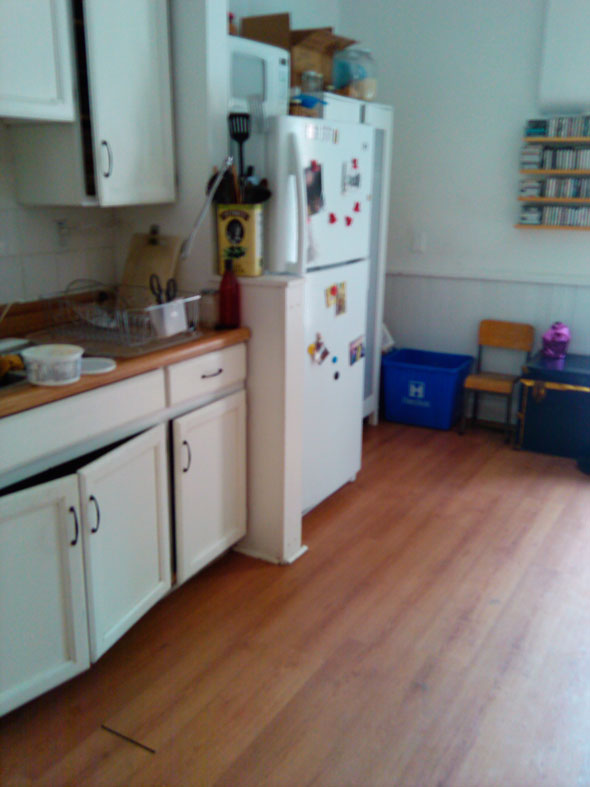
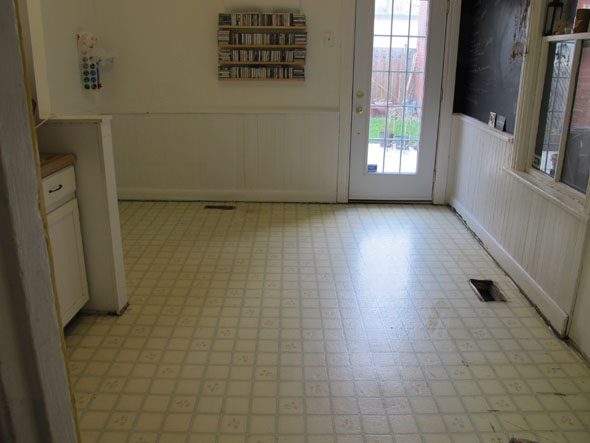
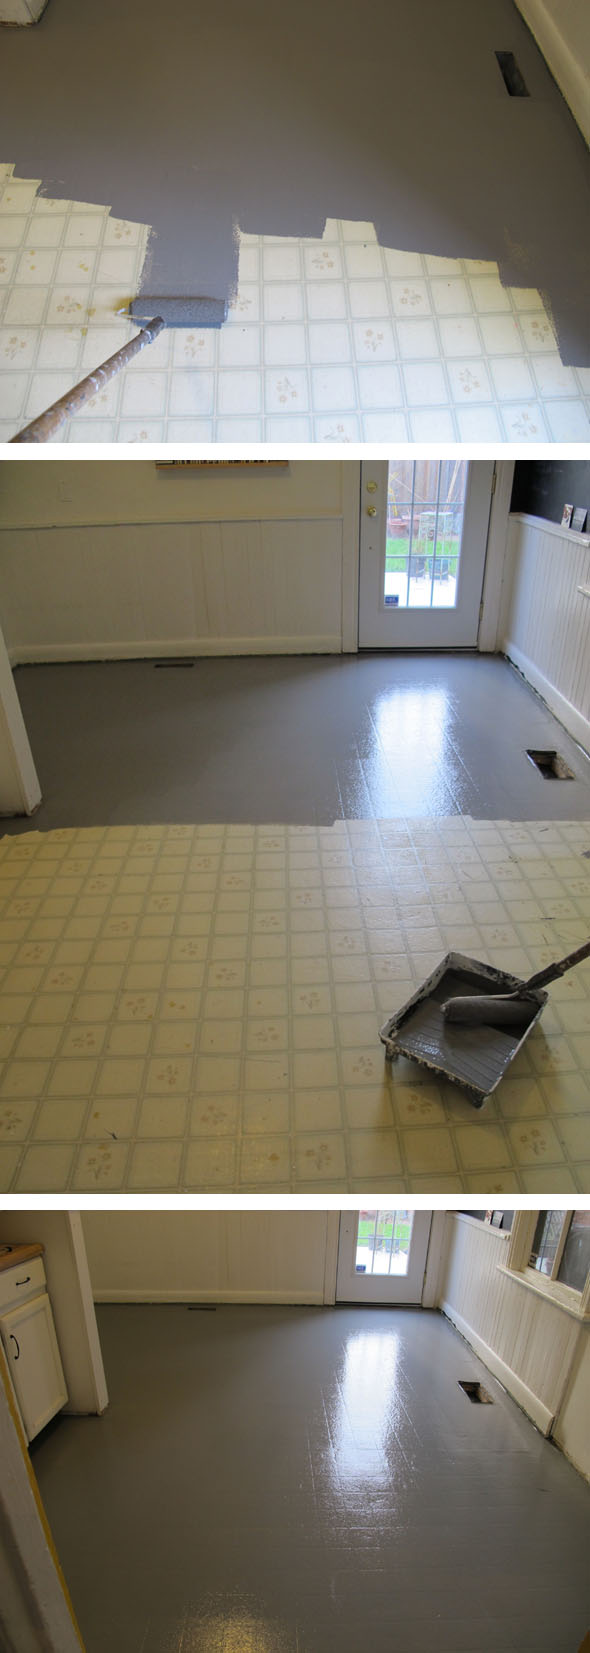
As much as I dislike cheap forms of laminate “wood” flooring (like the kind that looks like a sticker of wood pasted onto plastic) I do still think that our kitchen looked better with the crappy laminate than it did for the past 4-5 months with the super ugly 1990′s floral laminate tiles that were faded yellow and just gross (Steve would beg to disagree ).  I took it upon myself to make an executive decision to paint the tiles a cement grey. I know it is a major painting faux-pas to paint atop plastic tiles as typically it’s difficult for paint to adhere to a surface like laminate, but if the folks at Hindsvik say you can do it, then I believe that it will work!

Ouno Design made it sound soooo easy peasy.  The whole thing although not hard, was quite a process.

1. Empty all furniture from the kitchen

2. Sweep, dust, vacuum floors

3. Wash the walls and baseboards -eww they get so dirty behind fridges and ovens

4.  Wash the floors (2-3 times with just water, 2-3 times with TSP to get rid of the glossy finish)

5.  Sand entire floor & vacuum

6.  Wash floors again

7. Paint first coat

8. Wait 24-48 hrs.

9.  Paint second coat

10.  Wait another 2-3 days before moving any furniture

11. Move all furniture back into kitchen (and start to eat like a normal person who has a functioning kitchen does)

12. Don’t wash floors for 3 weeks!


Hoping to move everything back in tomorrow, and here’s to wishing that the paint sticks to the tiles and doesn’t flake off.  I’m crossing my fingers.

under $5

It’s hard to believe that it’s already been 5 months since our renos.  Which means it has also been 5 months of having bare walls. We finally got to hanging a few pieces, and even pulled some artwork from the attic that hadn’t been unbubble-wrapped or seen the light of day since we moved over 2 years ago!  For the most part the artwork had been leaning up against furniture on the floors and collecting dust in our recently demoed attic.

Much of our decor and furniture are found or scavenged items and I can safely say that a large percentage of our art work cost us less than $5.  I luck out a little here since Steve is an artist he does score some great trades (although I didn’t take any photos of those pieces -oops!).

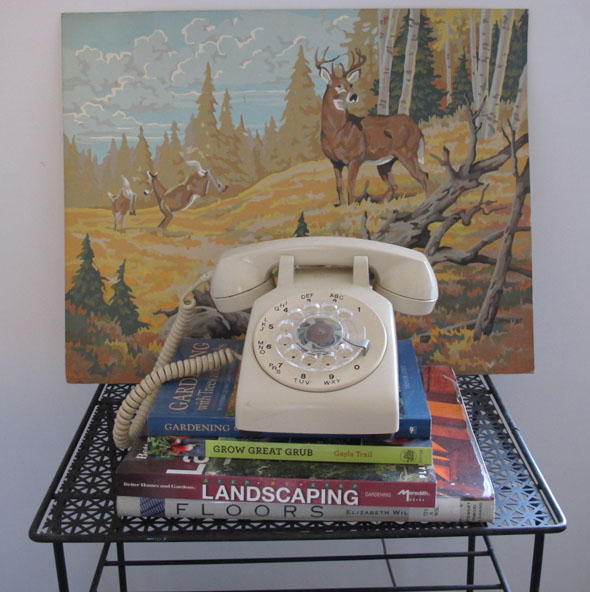
This paint by number came around full circle in the fam.  Steve and his brother and sister used to buy their grandfather paintbynumbers from way back in the day, and in time many if not most of these paintbynumbers are now in our hands.  I especially like this one.  One day we’ll either mount it or get an old frame to put it in.

a work in progress

Before and After‘s are my favourite!

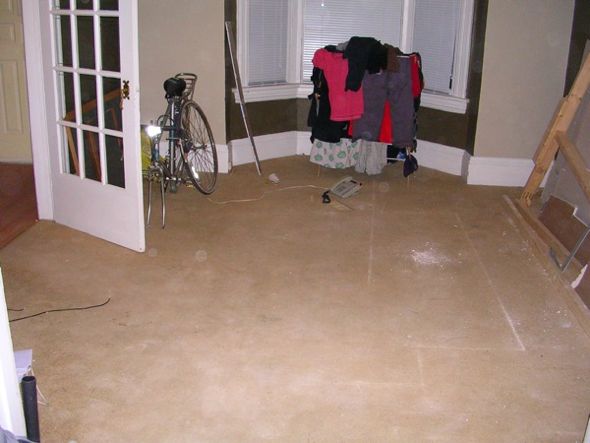
I’m happy that I was able to dig up some old photos from 2 years ago, from when we had just moved into our house.

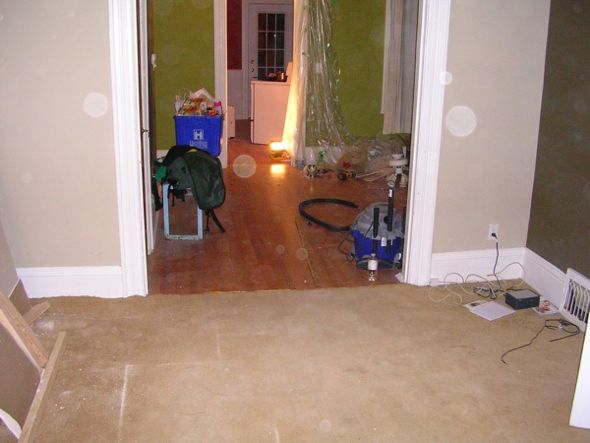
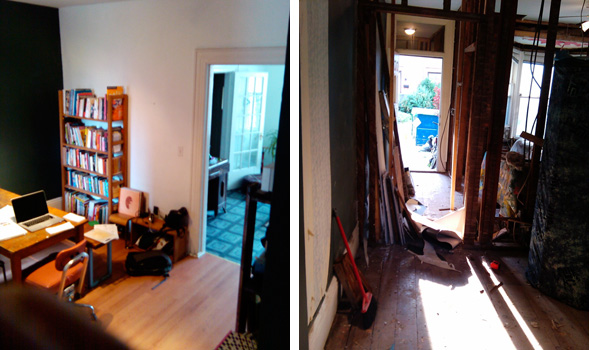
In July we tore down the walls, and then stripped the floors.  There’s still some finishing touches with trim and baseboards that need to be completed.  But for the most part we’re done!  Well almost done with respect to those 2 rooms (there’s still the kitchen, bathroom, and attic).

BEFORE

AFTER

BEFORE

AFTER

I can’t believe how far things have come in such a short time.  There’s still a lot to tackle, but for now I can just sit back and enjoy the bright open space that we’ve created on the main floor.  Sighhhh.
keep it in the family

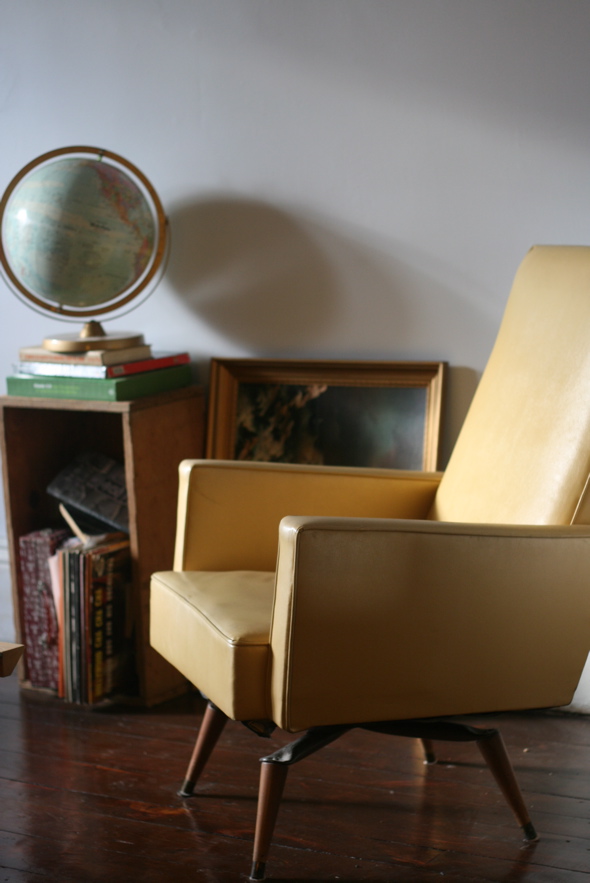
A while ago Steve picked up this yellow chair at a garage sale in his home town for $5.  His grandma upon seeing the chair stated that the chair was in fact once hers, and that she had sold it many years back at a garage sale.  We thought “No, there’s no way!” and so we carried on our lives enjoying the sitting pleasures of this fine vinyl yellow chair.  Until one day a few years later, Steve noticed a little piece of paper peeking out from in between the seat. He dug it out, only to discover that it was a Christmas present label to one of his cousin’s from “grandma” in his grandmother’s handwriting!  Lesson learned listen to what your grandma says ‘cos grandmas don’t lie.

vintage yellow vinyl chair, interior design

floor work

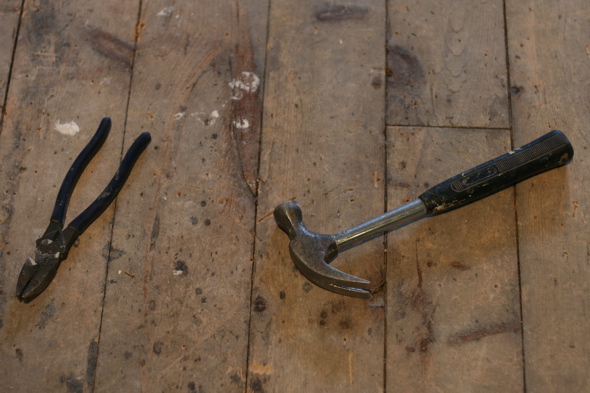
Indeed, doing floors is hard.  It took Steve and our handy friend Todd 5 hours of straight hunched over hammer ripping, ear spliting, wrenching and sweating to lift up the 5 layers of flooring that were on top of the original pine plank sub-floor.

pulling nails from old pink plank flooring

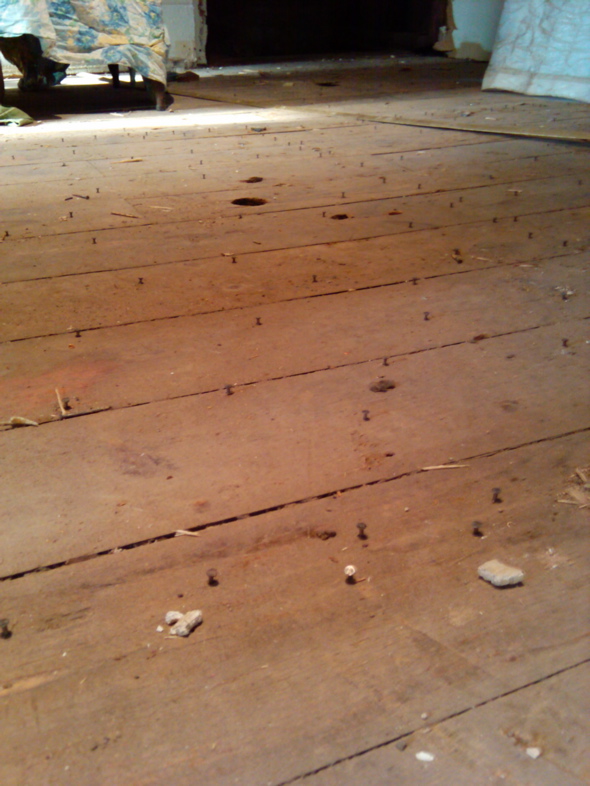
I think I pulled up about a million nails.

pulling nails from old pine plank floors

100 year old pink plank floors

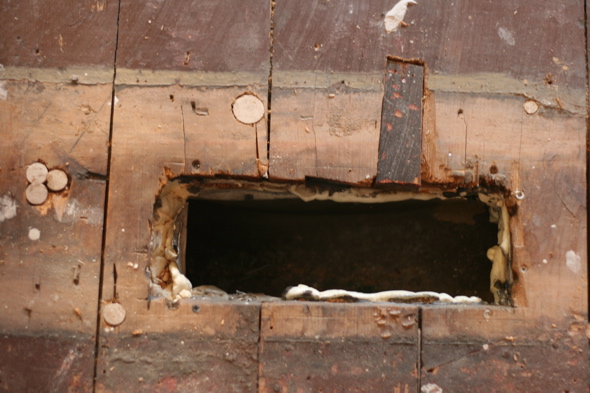
There was some repair work needed on a few of the boards.  We found someone who sold old flooring, and although overpriced, they matched up pretty well.  Steve replaced a few of the pieces that were rotting, and filled in the multiple holes.

100 year old pine plank floors

sanding 100 year old pink plank floors

And then on to the sanding.

floor sander, sanding 100 year old pine plank floors

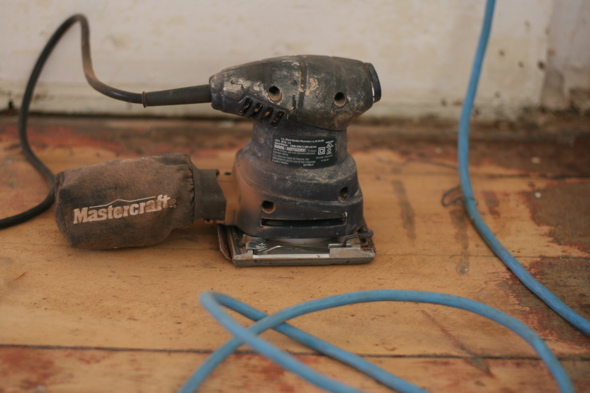
We rented the heavy duty sander from the Depots.  It is a super “heavy duty” sander meant for taking off paint and old varnish, and it’s a scary beast of a machine.  The box in the photo is filled with how much sandpaper it took to sand our floors down.  The sanding dust filled up nearly 3/4 of a garbage bag.

friday night lights

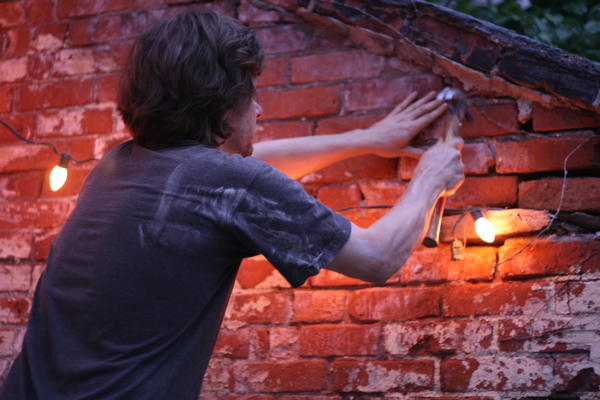
After the daily renovating Steve and I have been retiring to our backyard, safely away from drywall dust and the smell of paint, home to warm breezes and true summer night feelin’.  Unfortunately we do not have a light in the backyard so hanging out in the dark-yard after dusk can get a little difficult.

hanging up patio lights

On one particularly grueling day of renovating I was shocked to see Steve sill having the energy to drag out the ladder and proceed to hang up lights outside (hammer and all).

Hanging up Christmas lights in July, backyard lights

Christmas in July, backyard lights

The lights created a beautiful warm orange post sunset glow a la Christmas in July.

patio backyard lights

We can now hang out in the backyard after the sun sets to play cards and have our own patio beers to our hearts content!

100 years 100 layers

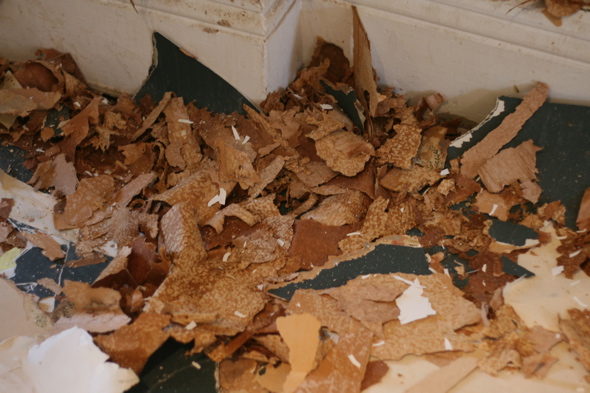
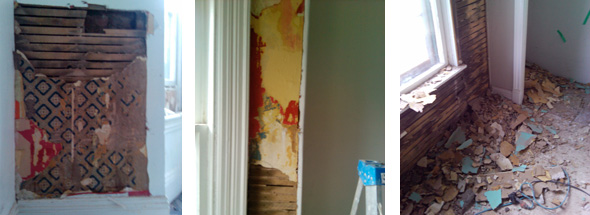
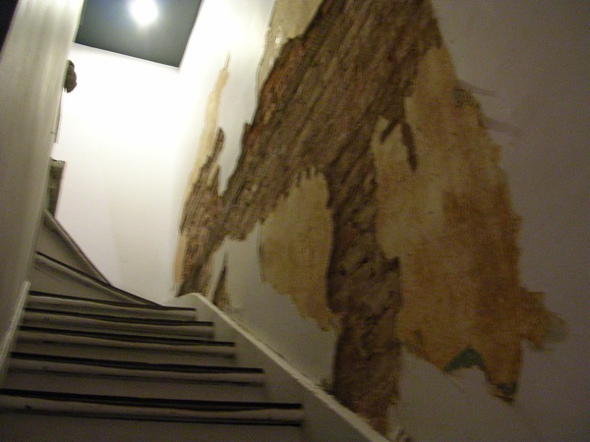
When we first moved into our house, we gave every wall a coat of fresh paint.  After our paint job, upon closer inspection we noticed a slight soft bulging and straight repetitive vertical lines going across the wall at even spaces, and concluded that it was obvious that wallpaper was underneath what was already several layers of paint.  So for this reno we decided to strip the walls down to the original layer of wall.

stripping wallpaper, 100 year old wallpaper, home renovations

stripping wallpaper, 100 year old wallpaper, home renovations

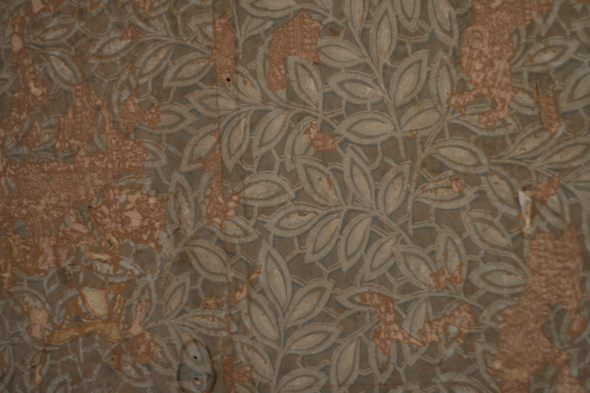
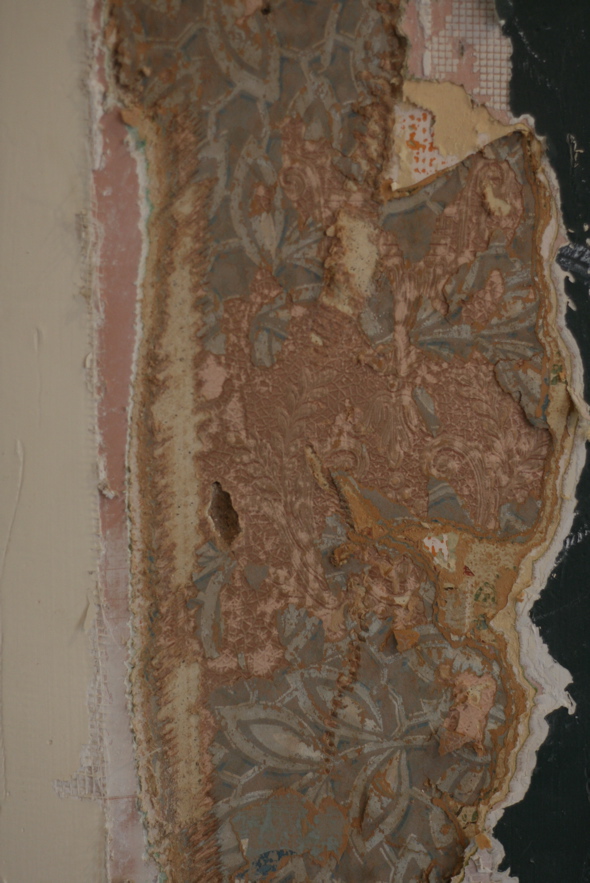
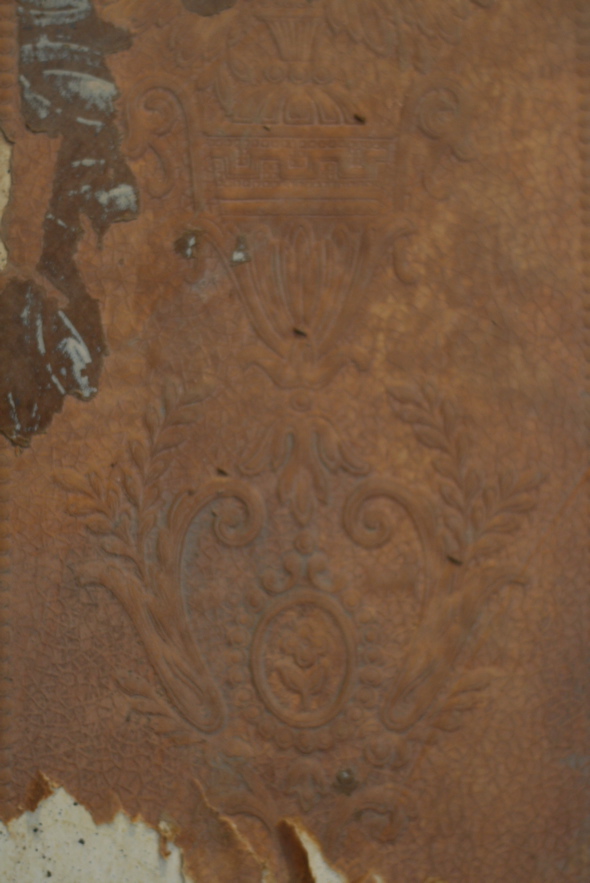
What an undertaking it has been.  There’s been layer upon layer of wallpaper, telling the story of the decades, from 90′s to the 80′s, 70′s 40′s and down sandwiched amongst varying shades and coats of paint.

stripping wallpaper, 100 year old wallpaper, home renovations

stripping wallpaper, 100 year old wallpaper, home renovations

stripping wallpaper, 100 year old wallpaper, home renovations

The colours of the last 1-2 layers of wallpaper were a soft rose and ghostly grey-blue.  Quite beautiful, but in pretty rough shape and smelling old and musty.

and the walls came tumbling down

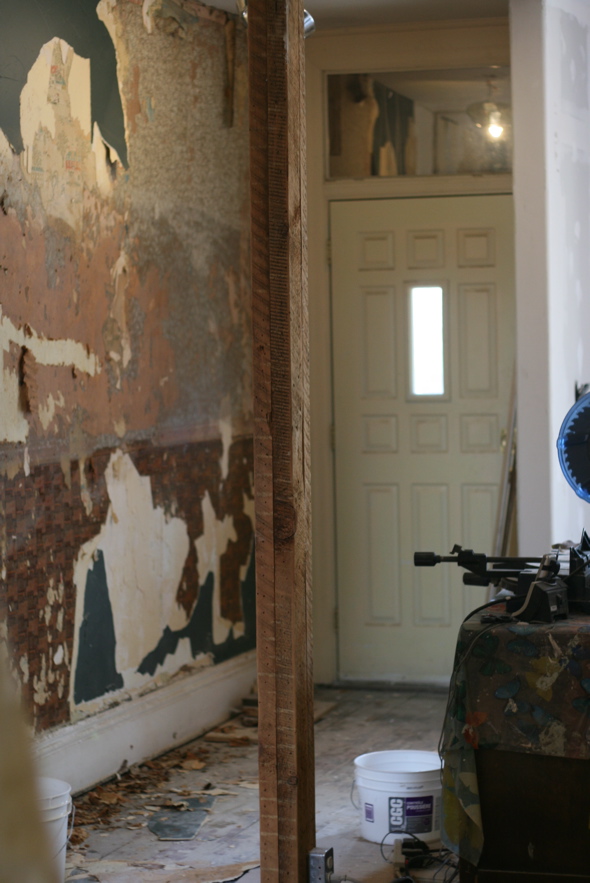
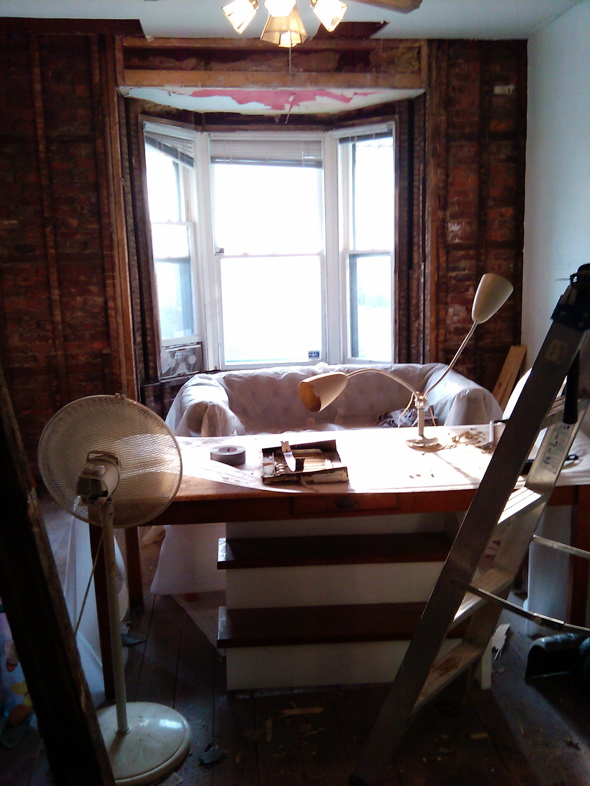
Still in mid renovation.  The walls are down.  The floors are peeled back, and the original ones are exposed.  We are living in a state of civilized chaos.  The demolition proved to be some what of an excavation.  Many layers of paint and wallpaper, a doll arm, 1980′s baseball cards, and a lot of 100 year old dirt, dust and rubble.

100 year old walls, renovation, old wallpaper

renovation, gutting walls

renovation

renovation, tearing walls down, demolition

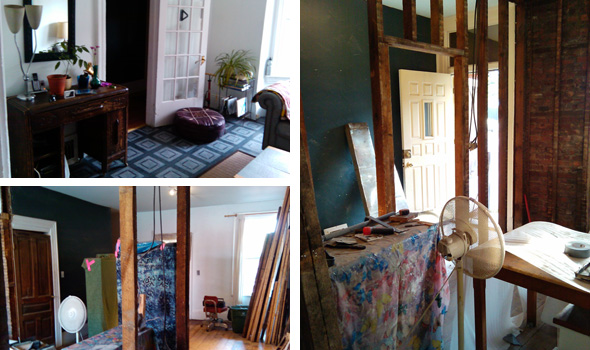
The wall with the bookshelf was was actually a doorway from way back when.  You could see the roughed out frame of the old doorway trim from behind the drywall.  As you can see in the next photo that wall is now gone.

and so it began

Nearly 2 years ago we started renovating our 100 something year old Victorian row house. And just last week we started demoing the main floor.  More pictures to come soon.

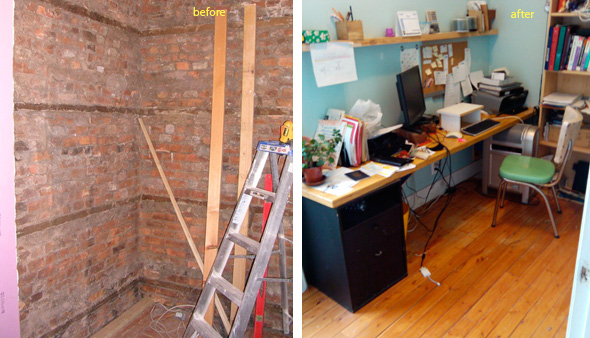
office before & after, renovation

green room, renovation, before & after

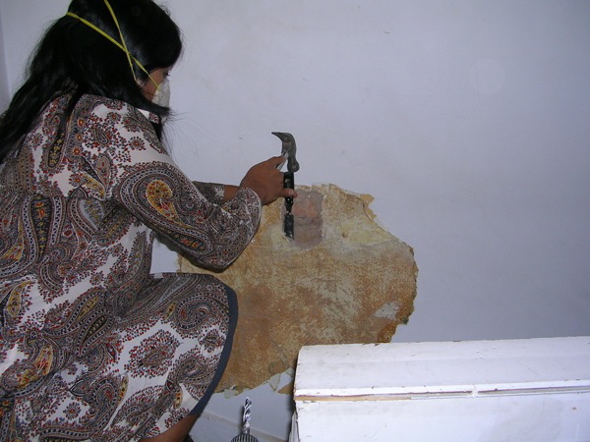
Sometimes when I get into something like picking plaster off a wall, I get right into it.  This was me still in my office clothes chipping away at the shared interior wall by the stairs.  We exposed the bricks going all the way up the stairs.  It was an extremely messy, dusty and asthma attack worthy process.

exposing a brick wall

exposing brick wall

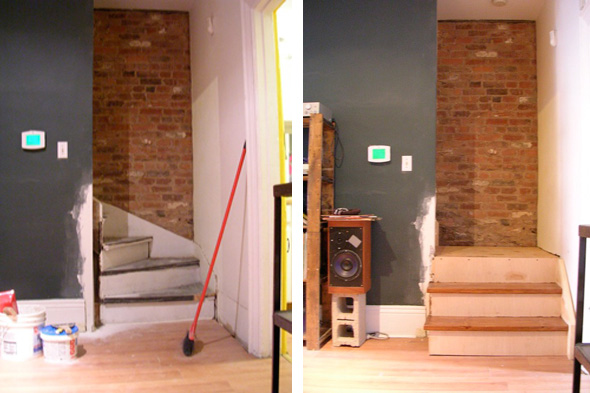
new stairs, renovation

New staircase put in.  We cheaped out and got the carpet grade stairs made from pine.  But we stained, painted and finished them, and they look great!  Still need to finish the landing piece, but we’re waiting until we figure out what we’re doing with the floors first.  So long extremely dangerous original staircase!